Showing posts with label baking. Show all posts

Tuesday, November 5, 2013

Check me out, it is FALL and I rock

Apples, before I brutally slaughtered them into
a delicious dessert.
Have you ever heard of apple butter?  I sure hadn't.  Prior to the Beans destroying all that is good about dessert by developing allergies to the worlds greatest food combo -- peanut butter and chocolate -- I had no reason to branch out.  Then he ruined everything and I had all but given up on anything good, sweet and fattening.  Oddly enough I wasn't loosing any weight, a fact I can't explain and which is entirely off topic ...

But, then came apple butter.

Its like applesauce, but not at all good for you and way creamier.

My parents wound up buying a place with a ton of apple trees, so we needed to use them ... my kitchen (and waistline) will never be the same.

In the interest of complete transparency -- it is time consuming and messy as heck, but it is easy.  Slap on a good podcast, movie, or some music and go to town!

You can search Pintercrack for much more thorough or serious sounding recipes.  Or you can hang out here.
 
Me picking the apples.
I should have Linda Hamilton Terminator arms by now.
I started by mixing cheap wine and Sprite.  No, seriously.  It doesn't actually go into the apple butter, but I find that it makes the process more enjoyable.  Why mix?  Because I will be singing show tunes before the apples are even halfway done if I drink the cheap wine straight.  I am not much of a sipper, more of a gulper.

So I mixed my Mommy Juice, snapped my iPod in because I could hear Handy (with his whiny assed tools) Manny in the background still.  And got to work.

My apples are small, and the skin is really thin so I don't peal them.  If you are getting store bought apples you may need to peel them and won't need as many because they are probably bigger.  Don't get horribly hung up on what kind of apples to use because by the time you are done cooking them with all the spices they will all be delicious.  Just know that if you want tang, pick a tangier apple, tart or sweet same deal.

For this round of apple butter I am using ... well, I am not entirely sure what kind of apples they are.  Here is a visual of the four main "types" but I think one and four may be the same kind:


I have googled them and come up with a couple different names, but I would love to hear what you think they are.

Now to the actual instructions.  Brace yourself for my thorough, foodie level instruction giving skillz:

Step one: Wash the bird shit and bug shit off.  Seriously, why they gotta poo on my food?


Step Two: Core and slice the muthahs.  And since my apple core-er sucks, I do this with a knife.


*insert possible brief intermission for ER visit here*

Step Three: Re-fill your drink, undoubtedly it is time.  Then toss the slices of apples into your food processor.  Process until they are in small chunks, smaller they are the faster they cook.


Step Four: Dump the chunky, wet apple matter into the CrockPot.


Blurry pictures happen when someone's hands are slippery.

Step Five: Spices.  Don't ask me to measure, I don't really do that and I am already a full drink in (my cup is 32 oz) by this point so my already low standards are dipping.  I eyeball it.  If I had to guess, for a full pot I use at least a full cup of brown sugar and then coat the top of the apples with cinnamon and allspice (so like 2 to 3 teaspoons each).  Here, I offer pictures to those of you who know what you are doing ...


It is a lot more spices than I have ever seen in another recipe, but to be honest I have never heard anyone complain LOL

Step Six: Set your Crock Pot on long and low.  For mine this is the 8 hour setting.  I try to do this as early in the morning as possible because you really do want the apples cooking for 8 to ten hours.  It makes for creamier apple butter in the end.


Step Seven: Try to not eat it through out the day and feel very Martha Stewart-ey because your house smells like fall and you seem to know what you are doing.  Stir occasionally, but really, you don't want to do much.


Step Eight: When the apples are plenty squishy, start shoveling them into a blender, food processor, or be uber fancy and have an immersion blender.  I know it is a huge surprise, but I am not uber fancy and lack an immersion blender.  I blend this bad boy until it gets creamy.


Once we have blended the snot out of the apples, we are technically done.  You can eat it straight, mix it in something, jar it, or even ice cube it like this:


I do that because then the Meatball can drop an apple cube in his oatmeal and it both flavors AND cools it.

I know, you are in awe of my general bad ass glory here, aren't you?

Anyway, it does freeze well, so jar it up and store it for later so you can have apple butter year round.  One full CrockPot made 6 full pint jars.


In a few weeks I will be cute-i-fying the jars somehow in order to give them away, so I will share that later.

Cheers!

Wednesday, May 15, 2013

this ain't our first rodeo

So I more than chronicled my failures and successes with Meatball's last birthday (here, here, and here).  It only seems fair I mention what went right and wrong with the Beans' second birthday, right?

Truth be told, I don't think it was anywhere near the same level of mess up.  In fact, it more or less worked out fine, but I also had my sights set substantially lower.  I only had a few things I really wanted to do and I focused on making those couple of this successful.  I wanted him to have a cute shirt that I made, like I did for his Uno themed first birthday, and I also wanted him to be able to actually EAT one of his birthday treats.  Around one Beans was completely incapable of consuming solids or anything like them, so it was a bit of a a bummer for me as I really had envisioned the whole smash cake deal.  But motherhood is all about rolling with the punches, and roll I shall, dammit.

So first off I needed a shirt.  To do that I need a theme.  I already had that, since Beans refuses to wear anything other than his favorite pair of camo cowboy boots (yes, Paul Bunyan bought them and I had little to do with it), there had to be some kind of boots/cowboy theme going on.  Then someone used a phrase I had heard a billion times before and BAM, it hit me ...


I made the shirt in Word, but some asshole at Microsoft decided to screw up Word Art and I couldn't reverse the image unless I reverted back to a compatible older version, which screwed up my cute fonts and colors.  So I had to redo it in Pagemaker, which I had to simultaneously learn while still swearing about the asshole at Microsoft.  After I got it all done I realized that I could have probably gone into my printer properties and just reversed it, but I didn't want to check.  By that point I was several hours in and totally felt that ignorance would be bliss unless I needed to do this again.  Just make the iron on, and move on I told myself.

I also made a back, because I thought it was stinking cute.


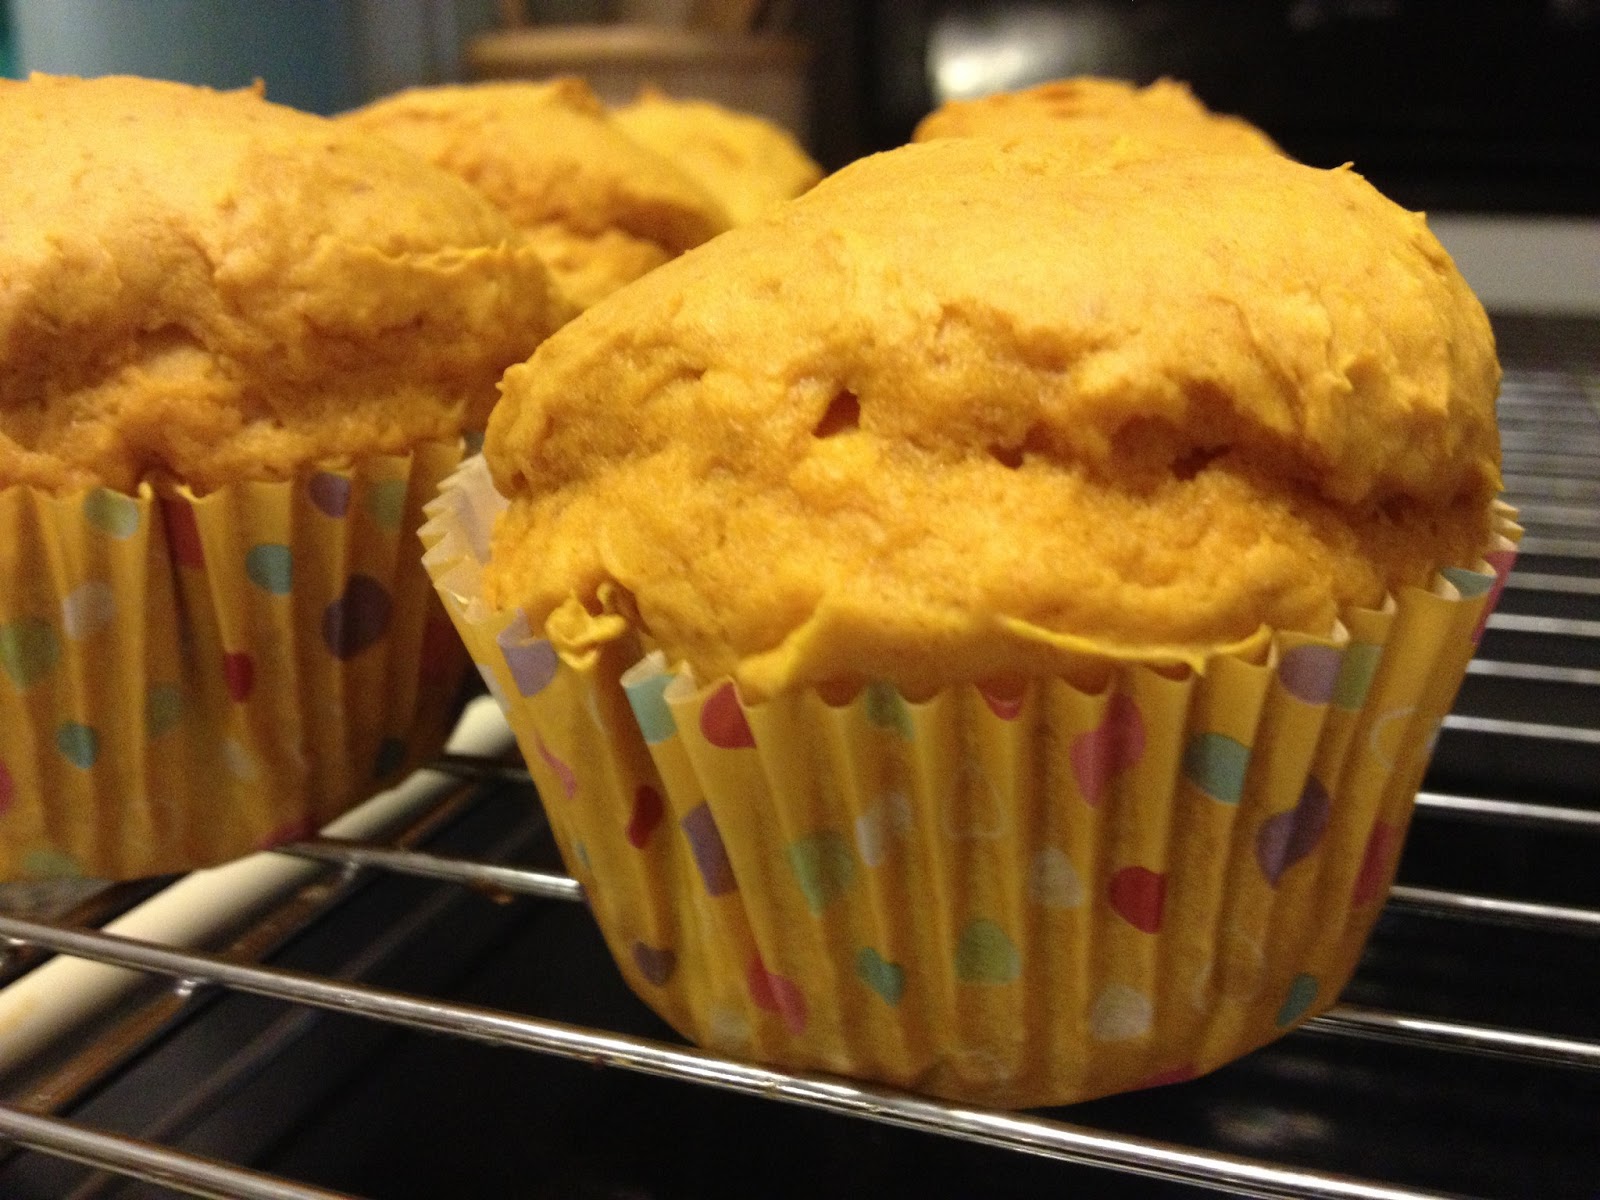
So the shirt was done.  Now for cake.  I could have spent a fortune on a top 8 allergy free cake, but at the time we were still consuming gluten (this has since changed and it is a post in itself) so I remembered my pumpkin muffins I had no real trouble making.  Duncan Hines' Classic Yellow Cake mix is free of the Bean's major allergens (dairy, egg and nuts) a fact I was both thrilled and a little alarmed by.


So I made a batch, but I needed to have a "topping" so they were less muffin and more cupcake.

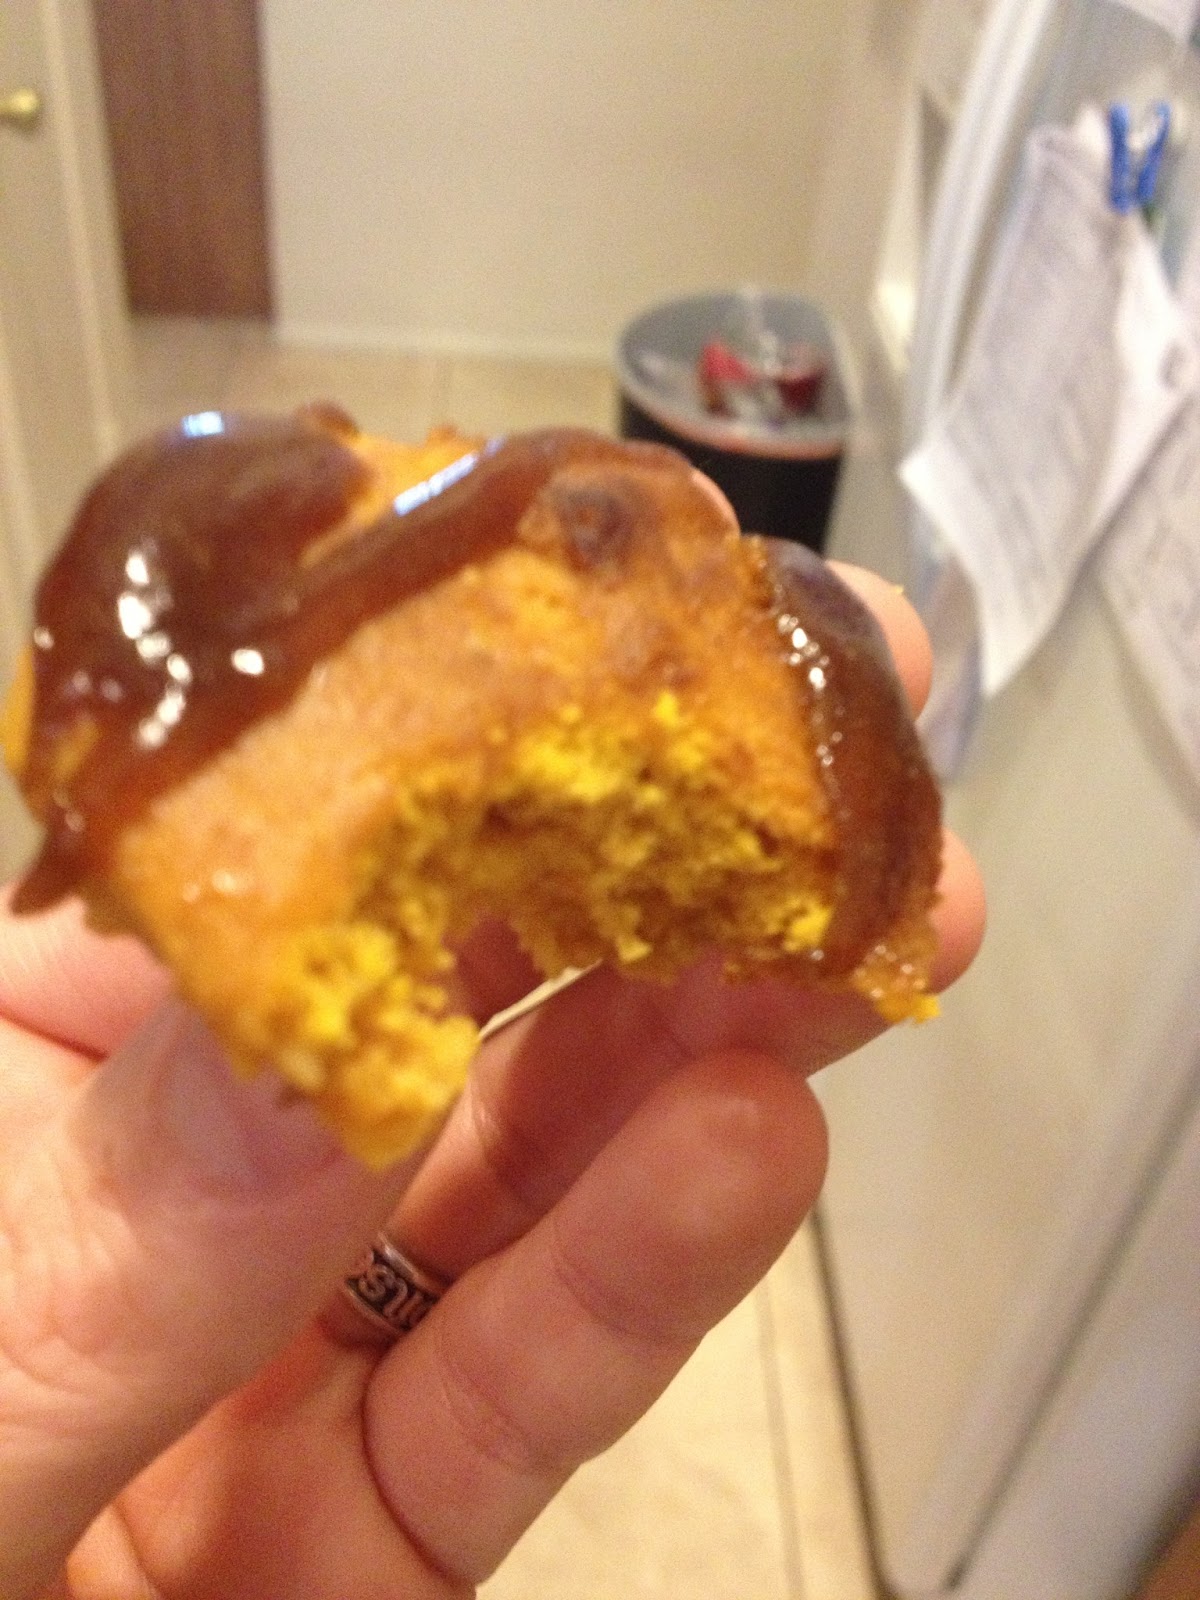
I experimented, and very nearly lost teeth in the process.

I very nearly lost teeth with this sample bite
The spoon was stuck to the bowl.
You wanna eat that?
Not wanting to waste anymore cupcakes, I used the heel of
sandwich bread and found my mixtures were too watery (left)
or dangerously sticky still (right)
Sometimes simple really is better.  A combo of regular sugar, brown sugar, and cinnamon mixed together worked much better.


Then just dunk them in and press gently so the topping sticks.  


I nabbed the boot and hat toppers at Hobby Lobby for like $3.99 with a 40% off coupon.  They also had the bandanna cupcake holders, which I also grabbed because they were freaking adorable!!!  I had already baked the cupcakes, so I just stuck them in as decorations 

Final product was delicious, everyone loved them.  Most importantly, the Beans ate almost a whole one himself!  Seriously, I cried.

Tuesday, May 14, 2013

ha! I win this round!

While about 90% of the stuff I pin on Pintercrack is just pinned and never touched again (if they ever make episodes of Hoarders about pins I will surely be on it) like maybe 5% is really useful.

The other 5% is stuff like toddler bowling pins, Hogwarts Cakesbanana bread bars, and ketchup bottle pancake batter dispensers -- great in theory but I totally effed up the execution   Some of them I think  were flawed before I even touched them.

At any rate  there is that 5% that gives me hope ... the 5% that makes me keep pinning and trying, because I am just sure this will work.

I got one!!!

Cinnamon Roll Waffles.

How can you make cinnamon rolls even better than they already are?  Make them easier to make!

Its simple, so simple not even I could mess it up!!!

Makin' cinnamon rolls with your waffle maker, in SIX easy steps!

1.) Grease the absolute crap outta your waffle maker.  I used spray, lots of it.  Cinnamon sticks and burns like a motha.  As this post is about me being successful, lets not discuss how I know this.

2.) Pop open the baking grenade of cinnamon rolls.  This particular week I actually used the store brand, not as good as Grands, but certainly edible.  Personally if I am going to consume the calories I'd damn well better enjoy it like an Herbal Essences commercial, so I doubt I will buy Kroger again unless I am really going to be strong and not eat 'em.

3.) Set them on the waffle maker and close the lid.  Did you remember to turn the waffle maker on?  If not smack yourself for being so dependent on my steps.


4.) It only took like a minute, if that, so don't expect it to be like a waffle and need checked 47 times.  Don't tell me I am the only impatient one here who does that.


5.) Put them on a plate and goop them with the icing, which sits ever so nicely in the little holes the waffle maker creates.

6.)  Eat them!  Well let them cool first, but then eat them.

You will need to wipe up your waffle maker, or your next batch of waffles will have specks of burnt cinnamon on them.  Again, lets not discuss HOW I know this.

Sunday, February 24, 2013

the importance of parchment paper

It is funny how the little things can derail you.

Take for example, parchment paper.  Something so simple, yet apparently it is quite important to listen to a recipe when it says that you should use it and not, for example, tin foil.

Allow me to teach you why and how.

I found these on Pintercrack.  Marvel in their beauty for a moment if you will, Raw Banana Bread Bars from The Sweet Life Online.  


Now we all know there is a snowball's chance I can make anything even half that pretty and the odds of it being as tasty as those probably are is equally slim, if not less.  But if I gave up there I'd have nothing to blog about.

I bought bananas because they are cheap.  I found dates (which I have admittedly never bought before) and had the oatmeal ... it seemed sooo simple.  But the website very clearly says you need parchment paper.

Now I did not intentionally disregard this, I just overlooked it.  Until I was all ready to go.  Keep in mind I am allergic to bananas and Paul Bunyan gets frustrated when I try to handle them, so speed was of the essence here.  So I made a snap decision to proceed because, really, how important can parchment paper be?  

Um, apparently very.  

So I slice for about 45 years and put them on tin foil coated in a non-stick spray ... 


I presume that this is where I went wrong because where the bananas were supposed to get a bit dry and bendy I instead had kind of smoked bananas at the end.  And they were just as wet as they started, but definitely stickier.


So yes, I messed this one up on like the very first step.  I did continue on in the hope that it would end up being edible in some form ... but ... well, see for yourself ...


In the processor, but already doomed.


Um, that looks appetizing, right?


Trying to flatten it per the instructions, but it is a bit liquidy.


Uh, yeah, once they are in the right shape they are clearly much better looking.  Right?  Yeah, I didn't think so either.  

As you can tell the end result wasn't particularly appetizing in appearance.  What the picture doesn't appropriately convey is the texture and consistency.  It was wet, soupy, gooey, and just plain gross. 

Ultimately, I tried sticking it in the fridge over night in the hope that the cold would firm it up.  Still a big nope. 

So in the trash it went, and I know now that while clear plastic wrap may be my arch nemesis parchment paper is clearly a very underrated product.  

Oh, and the extra burned gooey bananas?


Threw them out too.  Ew.

Saturday, September 1, 2012

Hogwarts Cake, Part I

I knew it was a bad idea, yet I had hope.  Why I don't know, but I did have some hope.  Hope that because this was for my baby, my Meatball, I could some how dredge up the ability to not totally screw up the most perfect cake ever for him.

Jury is still out, because it has to be iced and also has to be cut into ... that is the scary part, I won't know if I pulled it off until we cut into it.  In front of my child, parents, siblings, and in-laws.

Go ahead, say it with me ... WTF was I thinking?!?!

At any rate, I will post a bigger tutorial with this when all done, not because I feel like I know how to but I certainly know how NOT to do some of it.  But it would be remiss of me to not give you a "taste" wouldn't it.

So here you go, a little teaser.


A quick example of what not to do.
Ever.


My cake.  I changed the color order for a reason ... namely I screwed something up in assembly and this was the best way to cover that mistake up. I will explain all of this in the full post and reveal.


The real cake.  The original.  Yeah.  I know, I know.  


This is what it looks like presently.  I was told that I should plastic wrap the crap out of it and freeze the layers so that the "moisture gets locked in" so I did.  Not so sure it that will help me or hurt me though.

I am hoping and praying fervently that once iced the majority of the ugly bits are hidden.  I am also praying that it tastes okay and isn't too dry or too food coloring tasting.  I tasted as I went and it was fine individually, but with my cheap food coloring I had to add a lot in order to make it get close to the right colors.  

**To see the completed cake in all is atrocious glory, head on over to this post.**